Amigurumi Mike the Monster Free Pattern 85
Hello dear Amigurumi Followers
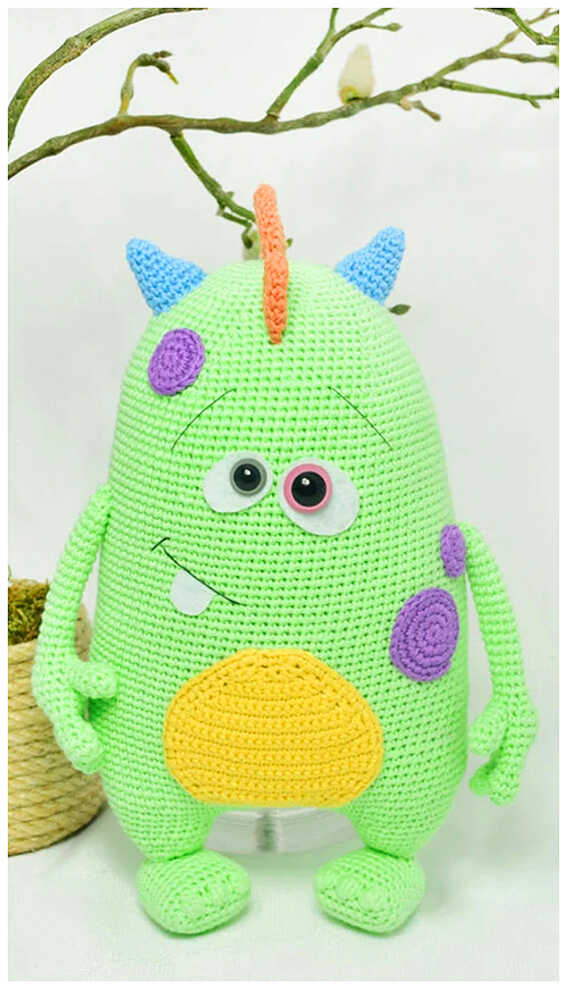
Today we share Amigurumi Mike the Monster Free Pattern for you. As you know we share new free amigurumi pattern every day. The main crochets are gazelle, amigurumi bear, pola, crochet panda, penguin, giraffe, llama, pig, amigurumi bunny, clown, lamb, bee, crochet unicorn, amigurumi doll, fox, penguin, dinosaur, crochet elephant, hippo, monkey, crochet cat, crochet dog and more …
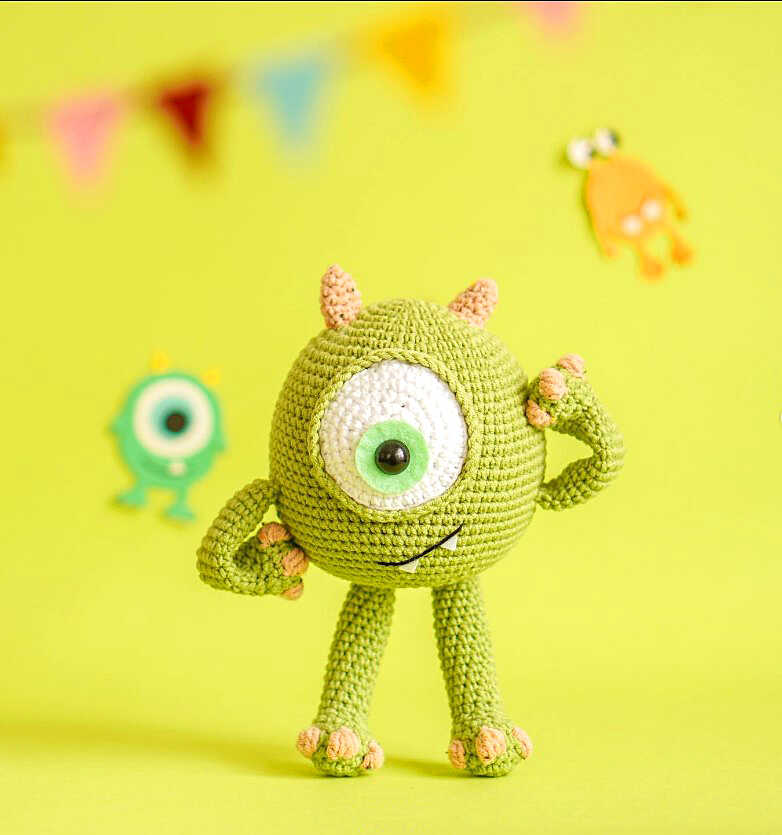
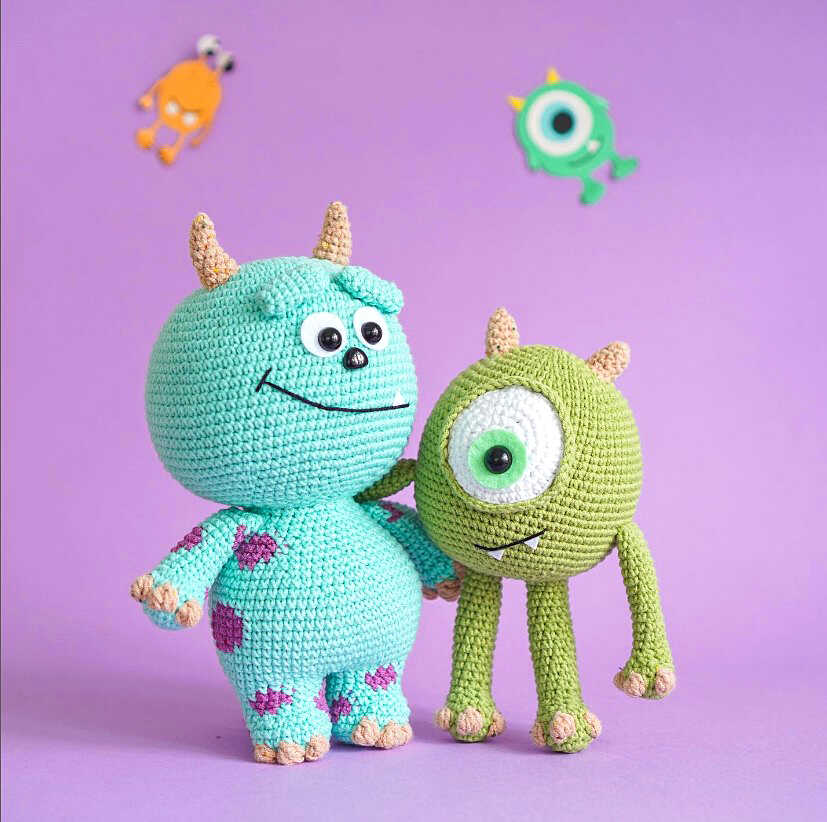
Todays daily new amigurumi free crochet pattern is Amigurumi Mike the Monster.
I want to give you some informations about this amigurumi free pattern ; Mike the Monster.

Designer: aquariwool
Materials
Yarn color:
• (A) Green: Alize cotton gold 385 (100g, 330m)
• (B) White: YarnArt jeans 62 (50g, 160m)
• (C) Skin color: Alize cotton gold tweed 262 (100g, 330m)
Other materials
• Crochet hook size: 2- 2.5 mm
• Black safety eyes 12 mm
• White & green felt fabric, black thread
• Tapestry needles, pins, stitch markers, scissors
• The finished size is approximately 17 cm.
Abbreviations
MR– Magic ring
Ch– Chain
Sc– Single crochet
Inc– Increase
Dec– Decrease
Hdc– Half double crochet
Sl st– Slip stitch
Dc– Double crochet
Tr– Treble crochet
Bobble– Bobble stitch (4 hdc in the same st)
BLO– Back loop only
FLO– Front loop only
Sts– Stitches
Rnd– Round
Amigurumi Mike the Monster Free Pattern
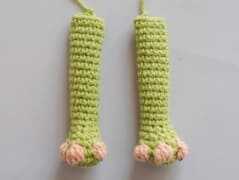
Legs (Make 2)
Yarn A
Rnd 1. 6 sc in MR (6)
Rnd 2. 6 inc (12)
Rnd 3. (2sc,inc)*4 (16)
Rnd 4. sc 4, change to yarn C, (bobble stitch, 2sc)*3, 3sc (16)
Rnd 5. 16 sc (16)
Rnd 6. 4sc, 4dec, 4sc (12)
Rnd 7. 4sc, 2dec, 4sc (10)
Rnd 8-20. 10 sc (13 rows) (10)
Make the 2nd leg similar to the 1st leg, break the yarn, stuff firmly, leave a rest to attach to the head later.
Arms (Make 2)
Yarn A
Rnd 1. 6 sc in MR (6)
Rnd 2. 6 inc (12)
Rnd 3. (3sc,inc)*3 (15)
Rnd 4. 4sc, change to yarn C, (bobble stitch, 2sc)*3, 2sc (15)
Rnd 5. 15 sc (15)
Rnd 6. 5sc, 3dec, 4sc (12)
Rnd 7. 4sc, 2dec, 4sc (10)
Rnd 8-22. 10 sc (15 rows) (10)
Break the yarn with a long rest, stuff slightly the lower hands, and sew two edges together.
Head
Yarn A
Rnd 1. 6 sc in MR (6)
Rnd 2. 6 inc (12)
Rnd 3. (1sc,inc)*6 (18)
Rnd 4. (1sc,inc,1sc)*6 (24)
Rnd 5. (3sc,inc)*6 (30)
Rnd 6. (2sc,inc,2sc)*6 (36)
Rnd 7. (5sc,inc)*6 (42)
Rnd 8. (3sc,inc,3sc)*6 (48)
Rnd 9. (7sc,inc)*6 (54)
Rnd 10. (4sc,inc,4sc)*6 (60)
Rnd 11-13. 60 sc (3 rows) (60)
Rnd 14. (14sc,inc)*4 (64)
Rnd 15-17. 64 sc (3 rows) (64)
Rnd 18. (15sc,inc)*4 (68)
Rnd 19-21. 68 sc (3 rows) (68)
Rnd 22. (16sc,inc)*4 (72)
Rnd 23-28. 72 sc (6 rows) (72)
Rnd 29. (7sc,dec)*8 (64)
Rnd 30. (6sc,dec)*8 (56)
Rnd 31. (5sc,dec)*8 (48)
Rnd 32. (4sc,dec)*8 (40)
Rnd 33. (3sc,dec)*8, start stuffing (32)
Rnd 34. (2sc,dec)*8 (24)
Rnd 35. (1sc,dec)*8 (16)
Rnd 36. 8 dec (8)
Break the yarn, use the tapestry needle to weave in the last 8 sts and hide the yarn.
Horns (Make 2)
Yarn C
Rnd 1. 3 sc in MR (3)
Rnd 2. 3 inc (6)
Rnd 3. 6 sc (6)
Rnd 4. (inc,1sc)*3 (9)
Rnd 5-6. 9 sc (2 rows) (9)
Break the yarn with a long rest to sew later. Stuff.
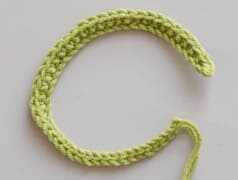
Eye Brim
Yarn A
Rnd 1. Ch 47, start on the 2nd st from the hook, 24 sc, sl st 22 (46)
Break the yarn with a long rest to sew later. The sc part will cover the upper eye, and the sl st part will cover the lower eye.
Eye
Yarn B
Rnd 1. 8 sc in MR (8)
Rnd 2. 8 inc (16)
Rnd 3. (1sc,inc)*8 (24)
Rnd 4. (1sc,inc,1sc)*8 (32)
Rnd 5. (3sc,inc)*8 (40)
Rnd 6. 40 sc (40)
Break the yarn with a long rest to sew later.
Details
• Head

• Legs

• Arms
• Horns

• Eye

• Eye brim
Assembly
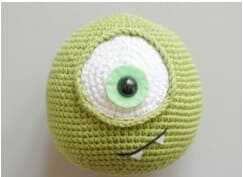
Use the green felt fabric to cut 1 circle, use scissors to cut a hole in the middle.

Insert the 12 mm safety eyes into the holes.
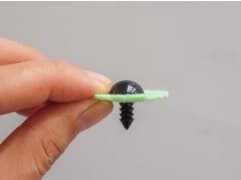
Then we will have the eye like photo.

Attach the eye on the head.

Attach the eye’s brim around the eye, the slst part will cover the lower eye.

The sc part will cover the upper eye.

Use the black thread to embroider the mouth like the photo.

Cut 2 pieces of triangle from the white felt fabric.

Attach 2 teeth under the mouth like the photo.
Attach the horns on top of the head.
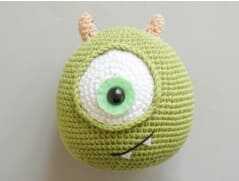
The distance between 2 horns is 6-7 stitches.

Attach arms to the head, on the 22nd of the head.
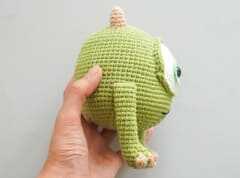
Finish attaching 2 arms.

Attach 2 legs on the head like the photo.
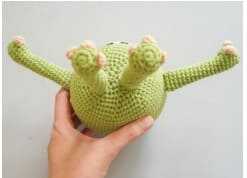
Congratulations, your Mike the monster is ready.

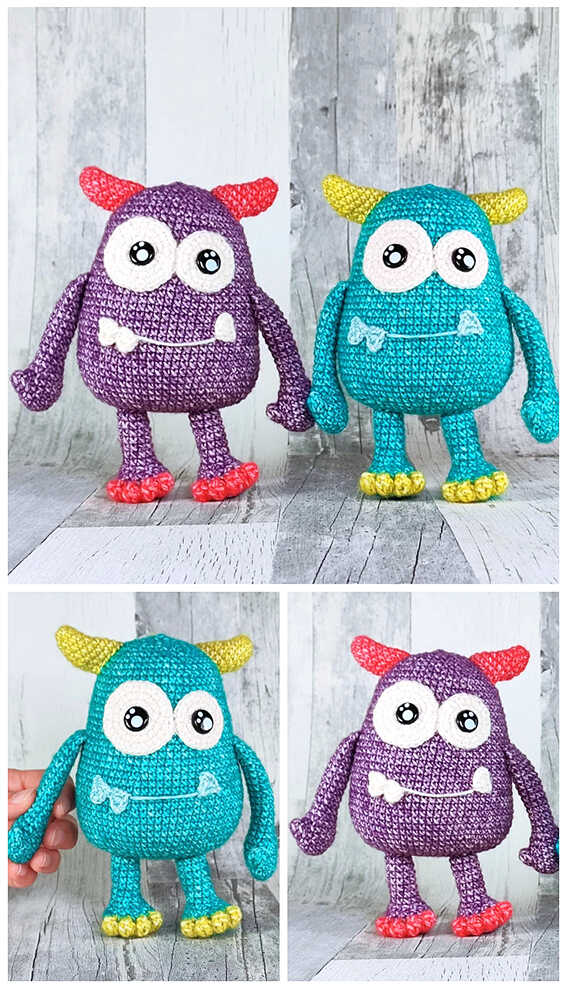
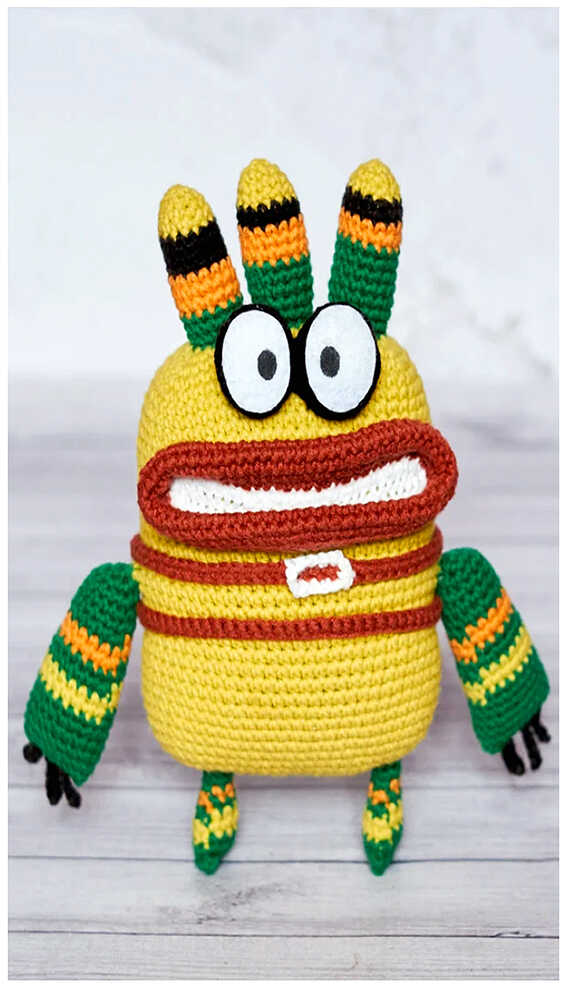
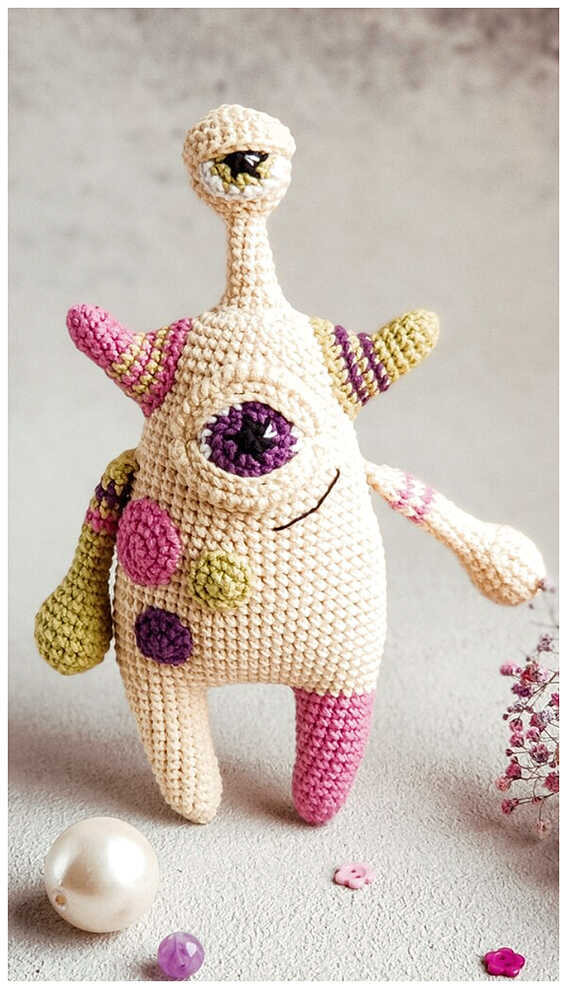
More amigurumi monster ideas: