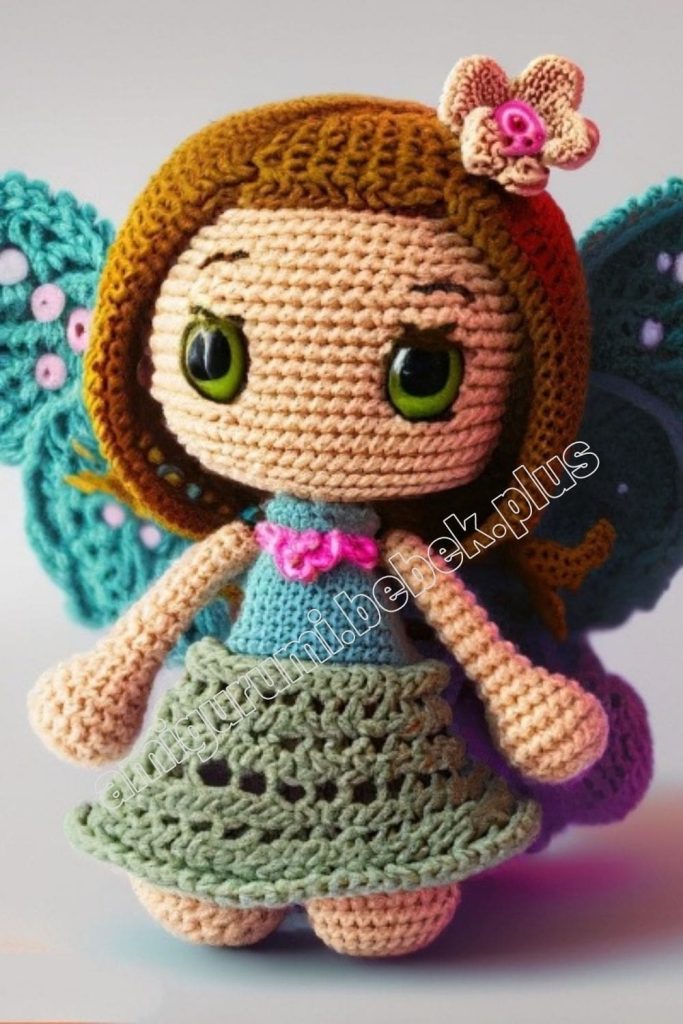
Amigurumi Fairy Crochet Doll Free Pattern 189
Hello dear Amigurumi Followers
Today we share Amigurumi Fairy Crochet Doll Free Pattern for you. As you know we share new free amigurumi pattern every day. The main crochets are gazelle, amigurumi bear, pola, crochet panda, penguin, giraffe, llama, pig, amigurumi bunny, clown, lamb, bee, crochet unicorn, amigurumi doll, fox, penguin, dinosaur, crochet elephant, hippo, monkey, crochet cat, crochet dog and more …
Todays daily new amigurumi free crochet pattern is Amigurumi Fairy Crochet Doll.
I want to give you some informations about this amigurumi free pattern ; Fairy Crochet Doll.

Designer: nina.hookcreations
Abbreviations
MR- Magic ring
Sc- Single crochet
Inc- Increase
Dec- Decrease
Ch- Chain
Slst- Slip stitch
Dc- Double crochet
Now let’s move on to making the crochet spring fairy crochet doll, for this we will start from the head part.
Amigurumi Fairy Crochet Doll Free Pattern
Head
We begin to crochet in the same color as the doll’s hair (so that there is no gaps). We crochet in a spiral.
Rnd 1. 6 sc in MR (6)
Rnd 2. (inc)*6 (12)
Rnd 3. (sc, inc)*6 (18)
Rnd 4. (2sc, inc)*6 (24)
Rnd 5. (3sc, inc)*6 (30)
Rnd 6. (4sc, inc)*6 (36)
Rnd 7. (5sc, inc)*6 (42)
Rnd 8. (6sc, inc)*6 (48)
Rnd 9. (7sc, inc)*6 (54)
Rnd 10. 54 sc (54)
Change the yarn to skin color.
Rnd 11-20. 54 sc (54)
Insert safety eyes, or sew between rows 15 and 16 on distance of 9 columns. Embroider the spout.
Ears (Make 2)
We make a magic ring inc, 4 sc and slst. Sew on, stepping back 4 columns from the eyes.
We continue to crochet the head:
Rnd 21. (7sc, dec)* 6 (48)
Rnd 22. (6sc, dec)* 6 (42)
Rnd 23. (5sc, dec)* 6 (36)
Rnd 24. (4sc, dec)* 6 (30)
Rnd 25. (3sc, dec)* 6 (24)
Rnd 26. (2sc, dec)* 6 (18)
Rnd 27. (sc, dec)* 6 (12)
Pull off the remaining hole, secure the thread, hide the end of the thread.
Right leg
We start with 6 ch.
Rnd 1. sc in 2 loop from the hook, 3 sc, in the last loop 3sc, continue along the second side of the chain 3 sc, inc (12)
Rnd 2. sc, 3sc, 3inc, 3sc, 2 inc (18)
Rnd 3. sc, 4sc, 4inc, 8sc, inc (24)
Rnd 4-6. sc in each column (24)
Rnd 7. 7sc, 5dec, 7sc (19)
Rnd 8. 6sc, 3dec, 5sc, dec (15)
Rnd 9. (2sc, dec)*3, 3sc (12)
Rnd 10-35. 12 sc (12)
Rnd 36. 8sc, slst.
We stuff. We fasten the thread and leave a long tail, so that later sew them the area between the two legs.
Left leg
We crochet the same way as the right one from rows 1-35
Rnd 36. 3 sc
We do not break the thread, we will continue to knit the body.
Body
We continue from the 36th row of the left leg
Rnd 37. 4ch, sc in the connecting column of the right legs, 4ch, sc in a loop of the left leg (32)
Rnd 38-48. 32sc
Sew the hole formed between the legs with a thread from the right leg.
Rnd 49. (6sc, dec)*4 (28)
Rnd 50. 28 sc (28)
Rnd 51. (5sc, dec)*4 (24)
Rnd 52. 24 sc (24)
Rnd 53. (4sc, dec)*4 (20)
Rnd 54. For the back half-loops we crochet sc in each column (20)
Rnd 55. For both half-loops (3sc, dec)*4 (16)
Rnd 56. 16 sc (16)
Rnd 57. (2sc, dec)*4 (12)
Rnd 58. 12 sc (12)
We fix the thread and leave a long one ponytail to sew the head to the body.
Arms (Make 2)
Rnd 1. 4sc in MR (4)
Rnd 2. (inc)*4 (8)
Rnd 3. (sc, inc)*4 (12)
Rnd 4. 12sc (12)
Rnd 5. 4sc, dec, 4sc, dec (10)
Rnd 6. 4sc, lush column, 5sc (10)
Rnd 7. 4sc, dec, 4sc (9)
We fill the handle tightly.
Rnd 8-32. 9sc (9)
We fill the rest of the part loosely or do not fill it generally.
Rnd 33. Fold the open part and sew 4sc, slst.
We fasten the thread and leave a long tip for sewing the hand to the body.
The dress
Turn the body upside down and attach the yarn with a connecting column in the first loop.
Rnd 1. We begin to crochet the first row of the dress from 54 rows of the body for the front half-loops 20 sc (20)
Rnd 2. 20 sc (20)
Rnd 3.(4sc, inc)*4 (24)
Rnd 4. 24 sc (24)
Rnd 5. (5sc, inc)*4 (28)
Rnd 6. 28 sc (28)
Rnd 7. (6sc, inc)*4 (32)
Rnd 8-16. 32sc (32)
Rnd 17. For the back half-loops we knit (dc, increase from dc)*16, connect slst (48), ch
Rnd 18. For both half-loops dc, an increase from dc, (3dc, an increase from dc)*11, 2dc, connect slst (60), 2ch
Rnd 19. (4dc, increase from dc)*12, connect slst (72), 2ch
Rnd 20. 2dc, increase from dc, (5dc, increase from dc)*11, 3dc, connect slst (84), 2ch
Change color
Rnd 21. 84 sc (84)
Change the color back
Rnd 22. For the back half-loops we knit (6dc, an increase from dc)*12, connect slst (96)
We fasten and hide the tip in knitting.
Hair
We cut the yarn into strands. You can easily cut a lot of yarn at a time if wrap it around the book.
Fold the strand in half. Insert the hook under the stitch and catch center of the strand and knit a loop. Repeat until we fill the entire head.
We collect the hair in a ponytail and gently pull it up to tighten the loops.
Shoes
We start with 6ch.
Rnd 1. sc in 2 loop from the hook, 3 sc, in the last loop 3 sc, continue along to the second side of the chain 3 sc, inc, connect slst (now this is the 1st column row), ch (12)
Rnd 2. inc, 3sc, 3inc, 3sc, 2inc, connect slst, ch (18)
Rnd 3. inc, 4sc, 4inc, 8sc, inc, connect slst, ch (24)
Rnd 4. For the back half-loops we knit 24sc, connect slst, ch (24)
Rnd 5-6. For both half-loops 24 sc, we connect slst, ch (24)
Rnd 7. 7sc, 5dec, 7sc, connect slst, ch (19)
Rnd 8. 6sc, 6slst, 7sc, slst (19)
Rnd 9. 5slst, 9ch, skip 9sc, 5slst (19)
We fasten and hide the tip in crocheting.
Wings
We make 2 parts for each wing, one large and one small.
First wing
Great detail:
Rnd 1. 6 sc in MR (6)
Rnd 2. (inc)*6 (12)
Rnd 3. (sc, inc)*6 (18)
Rnd 4. (2sc, inc)*6 (24)
Rnd 5-9. 24sc (24)
Rnd 10. (2sc, dec)*6 (18)
Rnd 11. (sc, dec)*6 (12)
Rnd 12-14. 12sc (12)
We fasten and hide the tip in knitting.
Small detail:
Rnd 1. 6 sc in MR (6)
Rnd 2. (inc)*6 (12)
Rnd 3. (sc, inc)*6 (18)
Rnd 4-8. 18sc (18)
Rnd 9. (sc, dec)*6 (12)
Rnd 10. 12sc (12)
Rnd 11. (4sc, dec)*2 (10)
Rnd 12-13. 10sc (10)
We do not break the thread.
We connect 2 parts into one wing:
Rnd 1. We knit sc in each loop of the first part, sc in each loop second part (22)
Rnd 2. dec, 5sc, dec, 5sc, dec, 4sc, dec (18)
Rnd 3. (sc, dec)*6 (12)
Rnd 4. (dec)*6 (6)
We repeat all steps and knit the second wing. We sew two wings into one detail and sew to the doll.
Assembly
• We mark the places where the handles will be located, we sew.
• Sew the wings on the back with Blossom, if earlier they didn’t.
• Add a little blush to the cheeks.
Congratulations, your the cute spring fairy doll is ready.
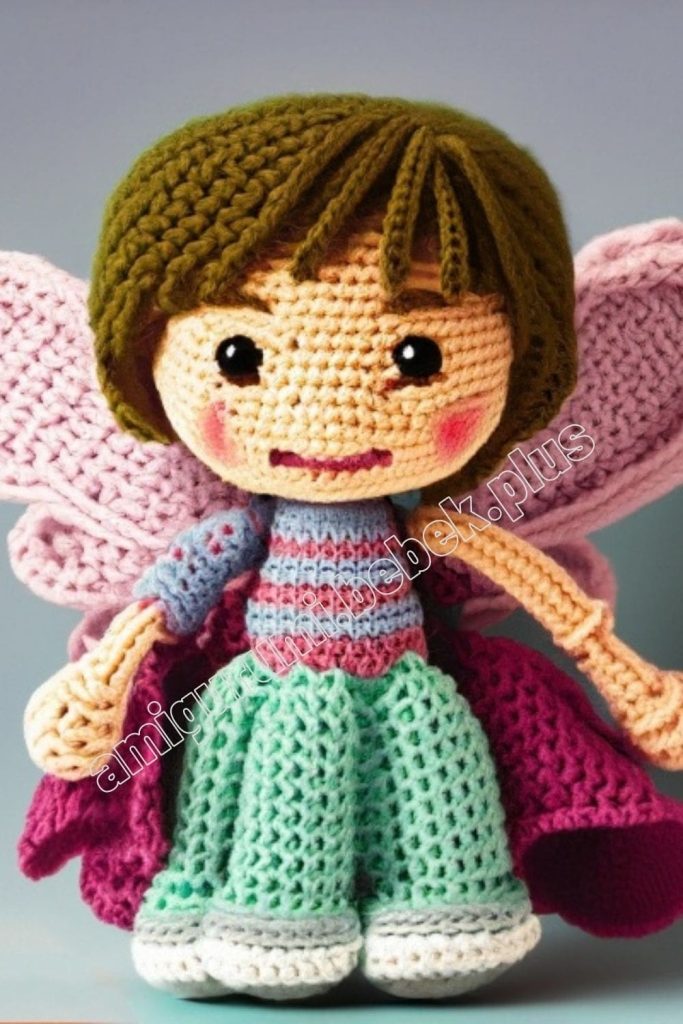
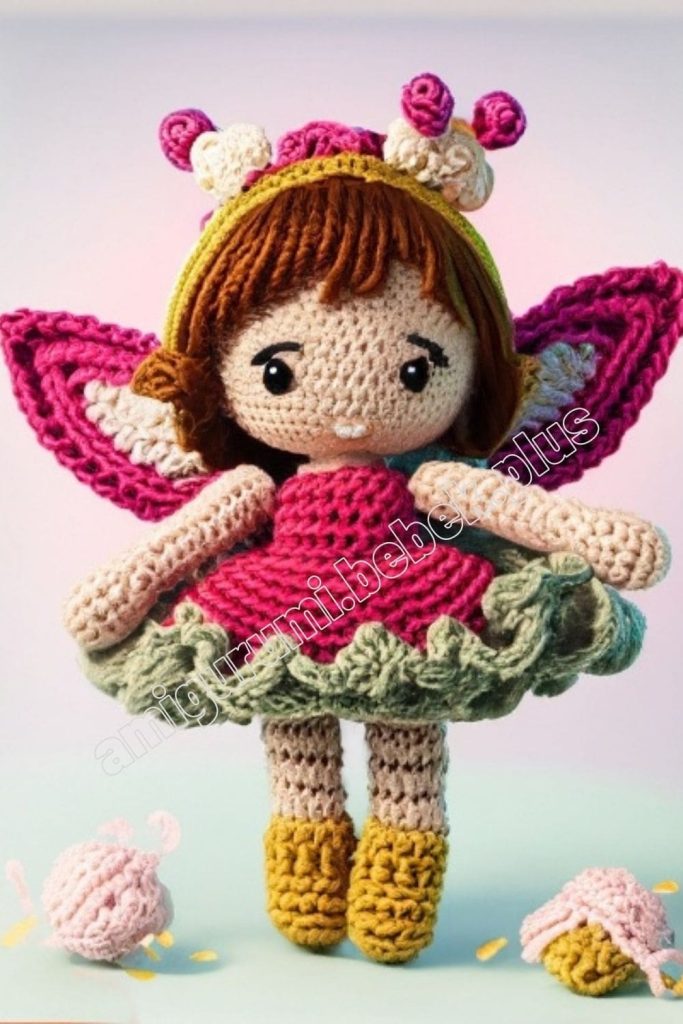
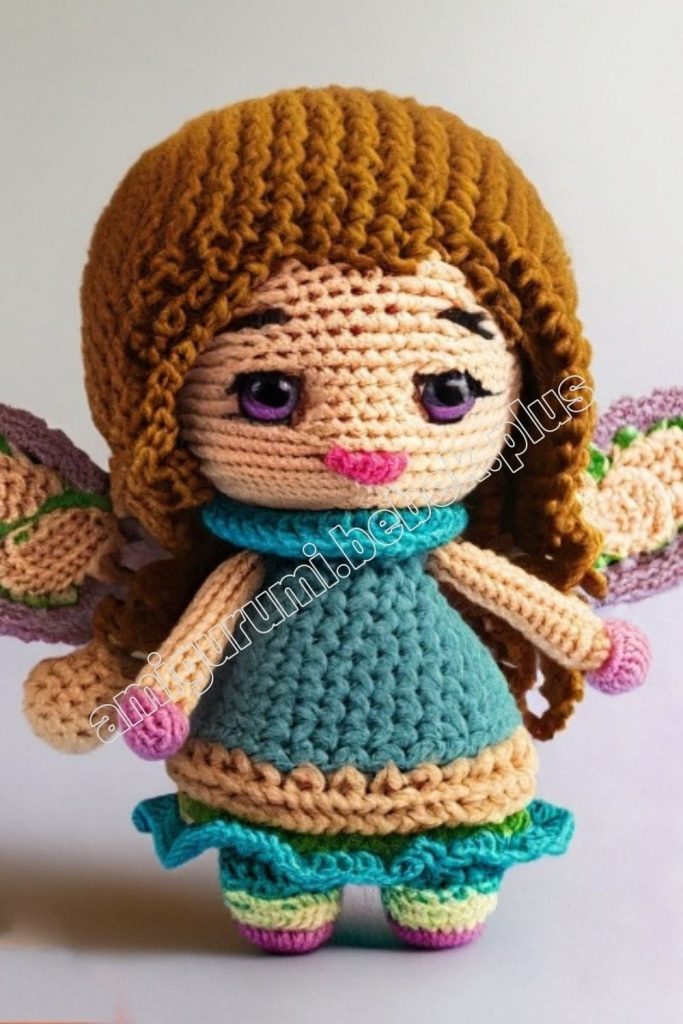
More amigurumi doll ideas :